Install and Configure Wordpress with LEMP in Ubuntu Server (20.04 - Focal Fosa)
Image by Arief JR
Almost people in the world use wordpress for blog, company profile or etc. Because wordpress come with several features and simplicity for design and customize the theme.
This tutorial will share how to install and configure wordpress with LEMP (Linux, Nginx, MySQL/MariaDB and PHP), the operating system is use ubuntu server 20.04 version.
What you’ll learn
- How to set up WordPress
- How to configure WordPress
- How to create first post
1. Install dependencies
First install the dependencies, like nginx, php-fpm, php module and mariadb.
1
2
3
4
5
6
7
8
9
10
11
12
13
14
15
16
sudo apt update
sudo apt install nginx \
                 ghostscript \
                 libapache2-mod-php \
                 mariadb-server \
                 php-fpm \
                 php \
                 php-bcmath \
                 php-curl \
                 php-imagick \
                 php-intl \
                 php-json \
                 php-mbstring \
                 php-mysql \
                 php-xml \
                 php-zip
In above dependecies is included with php 7.4 version and mariadb 10.3 version as default in ubuntu 20.04.
2. Install and configure wordpress
Wordpress is opensource blogging system and CMS on the web. CMS is content management system, you can download the source code wordpress in here.
After download, extract into destination directory like below:
1
2
3
sudo mkdir /var/www/{name of website}
sudo chown www-data:www-data /var/www/{name of website}
curl https://wordpress.org/latest.tar.gz | sudo -u www-data tar zx --strip-components=1 -C /var/www/{name of website}
3. Configure php-fpm and nginx
Before you configure nginx, you should configure first to php-fpm. in this tutorial will use php-fpm as fastCGI process manager. go to directory cd /etc/php/7.4/fpm/pool.d/ then edit and find listen value then change:
the default will be:
1
listen = 127.0.0.1:9090
Change to:
1
listen = /run/php/php7.4-fpm.sock
Save and quit, then restart the php-fpm service:
1
sudo systemctl restart php-fpm
Go to directory cd /etc/nginx/sites-available/ and create the files with name {name-of-website}.conf. Copy paste the value in below:
1
2
3
4
5
6
7
8
9
10
11
12
13
14
15
16
17
18
19
20
21
22
23
24
25
26
27
28
29
30
31
32
33
34
server {
        server_name {name-of-website}.com;
        root    /var/www/{name-of-website};
        index   index.php index.html index.htm;

        location / {
        try_files $uri $uri/ /index.php;
        }

        location ~ \.php$ {
        try_files $uri = 404;
        fastcgi_split_path_info ^(.+\.php)(/.+)$;
        fastcgi_pass unix:/var/run/php/php7.4-fpm.sock;
        fastcgi_param SCRIPT_FILENAME $document_root$fastcgi_script_name;
        fastcgi_read_timeout 240;
        include fastcgi_params;
        }
        # A long browser cache lifetime can speed up repeat visits to your page
        location ~* \.(jpg|jpeg|gif|png|webp|svg|woff|woff2|ttf|css|js|ico|xml)$ {
        access_log        off;
        log_not_found     off;
        expires           360d;
  }
        location ~ ^/wp-json/ {
        rewrite ^/wp-json/(.*?)$ /?rest_route=/$1 last;
        }

  # disable access to hidden files
        location ~ /\.ht {
        access_log off;
        log_not_found off;
        deny all;
        }
}
quit and save.
Then create linking of symbolic from /etc/nginx/sites-available to /etc/nginx/sites-enabled, below this command:
1
2
cd /etc/nginx/sites-enabled/
sudo ln -s /etc/nginx/sites-available/{name-of-website}.conf .
Run test nginx config
1
sudo nginx -t
The output should be like this:
1
2
nginx: the configuration file /etc/nginx/nginx.conf syntax is ok
nginx: configuration file /etc/nginx/nginx.conf test is successful
4. Configure MySQL/MariaDB Database
If you fresh install the mariadb/mysql, you should setup first mysql with this command:
1
mysql_secure_installation
Then follow the instruction, then create the database:
1
2
3
4
5
6
7
8
9
10
11
12
13
14
15
16
17
18
19
20
21
22
23
24
25
26
$ sudo su
# mysql -u root
Welcome to the MariaDB monitor.  Commands end with ; or \g.
Your MariaDB connection id is 235
Server version: 10.3.37-MariaDB-0ubuntu0.20.04.1 Ubuntu 20.04

Copyright (c) 2000, 2018, Oracle, MariaDB Corporation Ab and others.

Type 'help;' or '\h' for help. Type '\c' to clear the current input statement.

MariaDB [(none)]> CREATE DATABASE tuxnoob (you should change the database name);
Query OK, 1 row affected (0,00 sec)

MariaDB [(none)]> CREATE USER tuxnoob@localhost IDENTIFIED BY '<your-password>';
Query OK, 1 row affected (0,00 sec)

MariaDB [(none)]> GRANT SELECT,INSERT,UPDATE,DELETE,CREATE,DROP,ALTER
    -> ON tuxnoob.*
    -> TO tuxnoob@localhost;
Query OK, 1 row affected (0,00 sec)

MariaDB [(none)]> FLUSH PRIVILEGES;
Query OK, 1 row affected (0,00 sec)

MariaDB [(none)]> quit
Bye
5. Configure Wordpress to Connect to the Database
Now, let’s configure WordPress to use this database. First, copy the sample configuration file to wp-config.php:
1
sudo -u www-data cp /var/www/{name-of-website}/wp-config-sample.php /var/www/{name-of-website}/wp-config.php
Next, set the database credentials in the configuration file (do not replace database_name_here or username_here in the commands below. Do replace
1
2
3
sudo -u www-data sed -i 's/database_name_here/{name-of-website}/' /var/www/{name-of-website}/wp-config.php
sudo -u www-data sed -i 's/username_here/{name-of-website}/' /var/www/{name-of-website}/wp-config.php
sudo -u www-data sed -i 's/password_here/<your-password>/' /var/www/{name-of-website}/wp-config.php
Finally, in a terminal session open the configuration file in vim:
1
sudo -u www-data vim /var/www/{name-of-website}/wp-config.php
Find the following:
1
2
3
4
5
6
7
8
define( 'AUTH_KEY',         'put your unique phrase here' );
define( 'SECURE_AUTH_KEY',  'put your unique phrase here' );
define( 'LOGGED_IN_KEY',    'put your unique phrase here' );
define( 'NONCE_KEY',        'put your unique phrase here' );
define( 'AUTH_SALT',        'put your unique phrase here' );
define( 'SECURE_AUTH_SALT', 'put your unique phrase here' );
define( 'LOGGED_IN_SALT',   'put your unique phrase here' );
define( 'NONCE_SALT',       'put your unique phrase here' );
Delete those lines (ctrl+v will select these lines and press d to delete a line after selected). Then replace with the content of https://api.wordpress.org/secret-key/1.1/salt/. (This address is a randomiser that returns completely random keys each time it is opened.) This step is important to ensure that your site is not vulnerable to “known secrets” attacks.
Save and close the configuration file by typing escape then type :wq then enter
6. Configure SSL using letsencrypt
Because we use wordpress on ubuntu server, to save your public access you should setup the encryption with ssl for secure you website. Let’s configure the ssl, in here will use letsencrypt is free to use.
Install certbot in ubuntu
1
sudo apt install certbot python3-certbot-nginx
Generate letsencrypt with certbot
1
sudo certbot --nginx -d {your-domain-tld}
The SSL will expired every 3 month, so you can set in crontab to automate renew ssl. so run this command:
1
sudo crontab -e
Then put:
1
0 0 1 */3 * /usr/bin/letsencrypt renew && nginx -s reload
7. Configure Wordpress
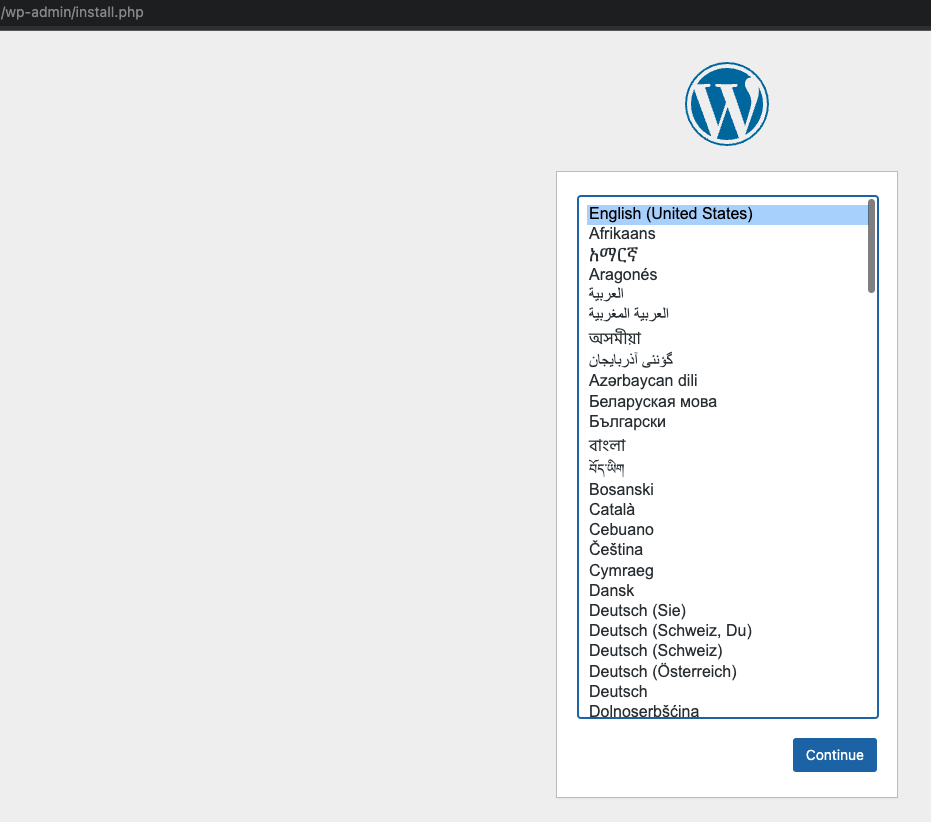
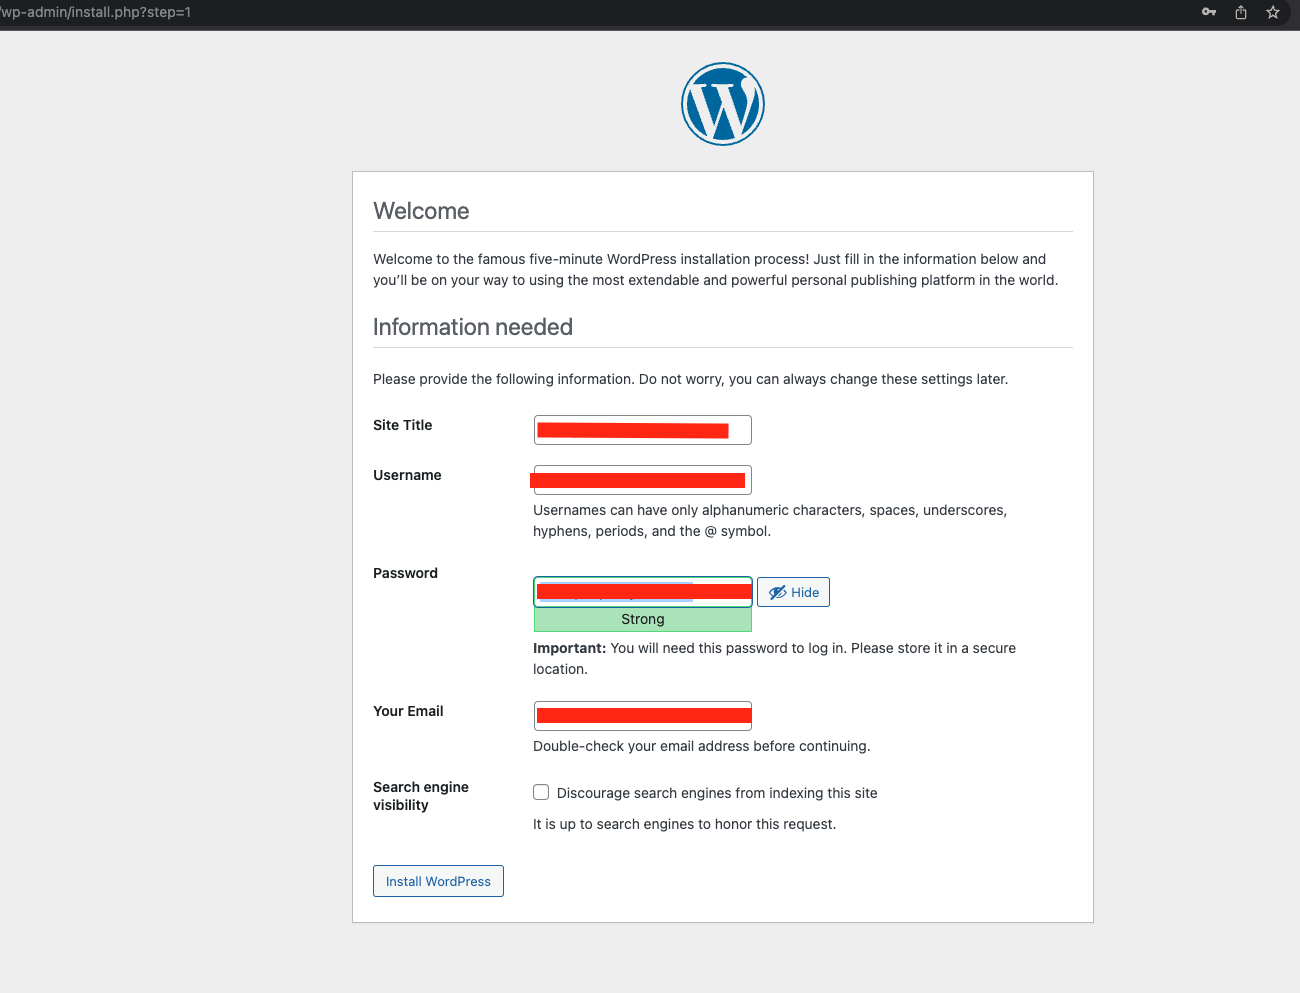
Open https://{your-domain}/ in your browser. You will be asked for title of your new site, username, password, and address e-mail. Note that the username and password you choose here are for WordPress, and do not provide access to any other part of your server - choose a username and password that are different to your MySQL (database) credentials, that we configured for WordPress’ use, and different to your credentials for logging into your computer or server’s desktop or shell. You can choose if you want to make your site indexed by search engines.
Then fill the title, email, username and your password
Then login to your wordpress and create your first post in wordpress. Voila