Create Watermark Image With GIMP ( GNU Image Manipulation Program )

Tuxnoob - This tutorial how to create watermark image on gimp, this function use watermark is avoid to pirate.
GIMP is editor tools for editing image, and also create icon, banner for websites and other. GIMP is opensource software, and can use for windows, linux also os-x.
GIMP also has alternative software editing except adobe photoshop, because adobe photoshop not free.
How Create This Watermark On GIMP ???
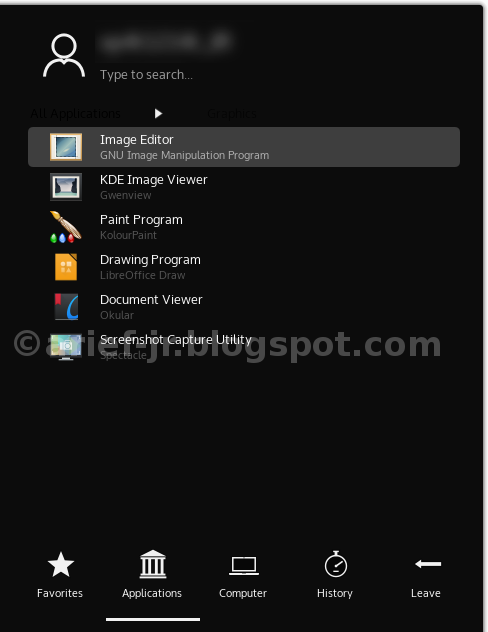
For create this watermark, first step open your GIMP application ( e.g i’m using Linux with KDE desktop )

After open, create new layer without bakground or with transparency background. Like this :
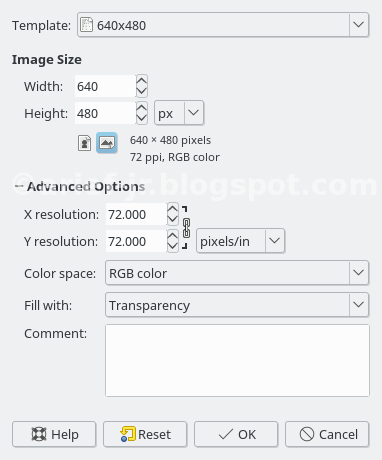
Hit ok, and now you’ll see transparent background. On size template i choose 640x480 pixel, if you want a large template choose other pixel. Like below this image :

Then select Text tools on left bar menu gimp, write you want. Like your url blog, and other.
After created, save this image to *.gbr (gimp brush).
And then open this image*.gbr with gimp, and also open image which want make watermark (such as : png,jpeg formats).


Once opened both picture, copy this text image format *.gbr with move tool on this left gimp menu.
Then paste to this image, you can resize if text has large or you can place whatever you want with move tool. After quiet satisfied, now you see right bar gimp menu. There opacity menu, and change to e.g 35 on opacity.


And image result like below this or on picture in the post above :
Thanks, may be useful and good luck!!!