How To Flash Android 6.0 Marshmallow on Nexus (5/6/7/9)
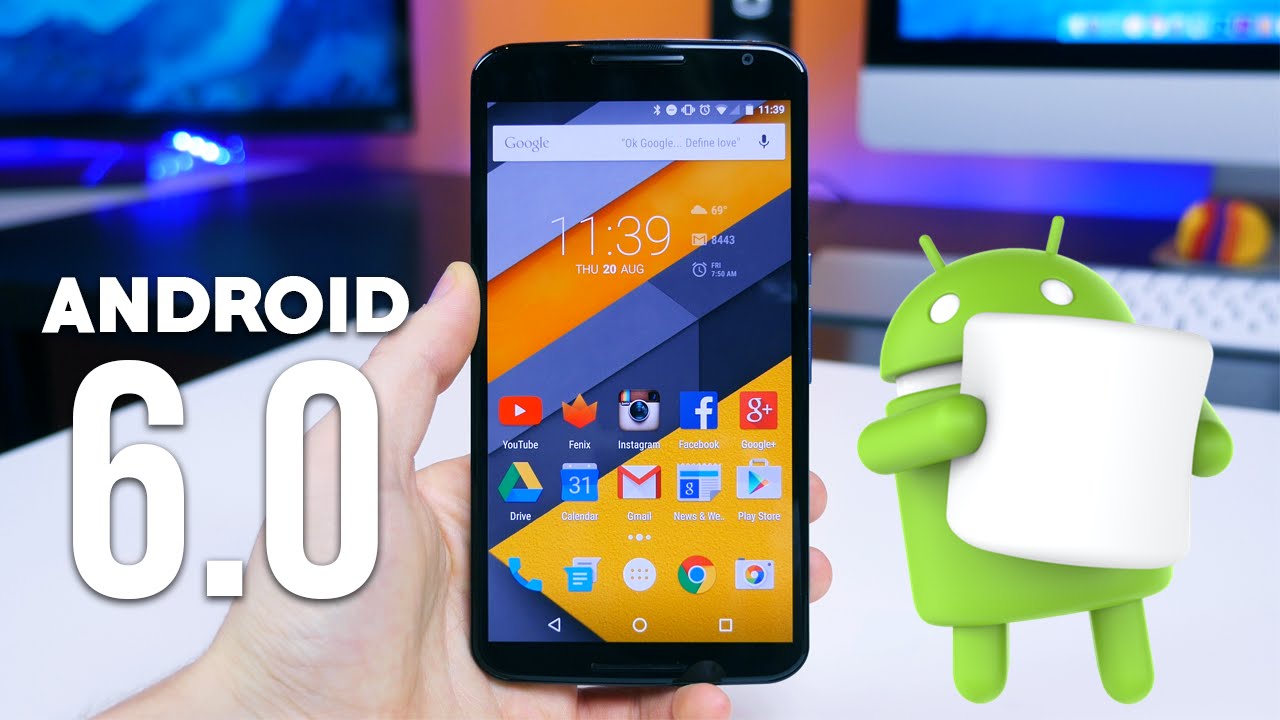 | Android Marshmallow (Image : Youtube.com) |
Android codename “M” has official released in october 2015, the codename is “Marshmallow”. Of course the device who first get an update this Nexus. Yeah the news of other vendor like Samsung, HTC, Sony will get an update.
If you want more feature about Android Marshmallow you can visit this site https://www.android.com/versions/marshmallow-6-0/
first things first we’re gonna need to head to the Google factory image page (https://developers.google.com/android/nexus/images) and grab the appropriate download for your device.
In this case were flashing my Nexus six so we’re gonna grab the marshmallow build force a move which is the code name for the device we’re at it let’s also go download the Android SDK (https://developer.android.com/sdk/installing/index.html?pkg=tools).
ADB is the Android debug bridge it allows you to run commands on your device from your computer that spewed allows you to do the same thing but why your devices in fastboot mode while its off that allows you to flash or install.
That’s the fancy word for it new software on your device partitions that it’s using wallet actually on and running once you’ve downloaded the SDK we’re gonna need to run the Android executable that’s located in the tools folder.
This is the Android SDK from here we’re going to select the most recent SDK and the tools you need to check them all off and go ahead and hit install gonna take a few minutes if you’re on a Mac and you upgraded from Mavericks to yosemite you may need to download the Java Runtime from Apple without this patch the executable might not work.
So if you’re getting a few errors led to that page make sure you’re running the most recent version of job while that’s all downloading let’s make sure that our device is ready to go ahead and head into your settings on your phone tap on about an attack on the build number two, you become a developer congratulations you did it you can now develop apps now.
Really this just enables the developer options inside the phone, heading to the developer options which should be revealed now in the settings and ensure that USB debugging is enabled wow look at you you’re doing so great.
okay now let’s grab ourselves a USB cable plug that sucker right to your computer.
I’m gonna be doing this on a map view map, we can do this on a PC as well you just need to write drivers for your OEM and you can omit the period and / at the beginning of the command that we’re going to get to in just a minute.
Hoping your terminal or a shell prompt if you’re on Windows and if this is where you get a little light headed stayed home, this isn’t terribly hard and if you’ve never done it before it’ll be a great great learning experience for you just all the instructions and you’ll be running marshmallow in no time.
While you can install ADB and fastboot on your computer we’re gonna do it the hard way here it’s important, I think to learn what you’re doing so you don’t break your device on your computer is doing is issuing terminal commands when you’re clicking on things in the UI all we’re going to do is cut out the middleman a DUI and work directly inside the terminal.
While we’re not going to install ADB and fastboot let’s at least make allies, just a little bit easier in Finder go ahead and move your new Android SDK folder to your Applications folder then make a new folder on your desktop. Can call anything you like here for the article we’re gonna call it marshmallow, move your stock image that you just downloaded into it then open up your Android SDK folder and copy ADB and fastboot your marshmallow folder. Now we need to make sure that terminal is looking at the right shoulder so in the prompt go ahead and type CD and then users your username desktop marshmallow and hit enter like this command:
cd /Users/MarkB/Desktop/Marshmallow enter
CD will change the directory. Now let’s make sure we’re looking in the folder. Type:
ls enter
ls is a unix command that will list the files in the current directory. If you see your image, adb & fastboot, you did it! Great job! Almost there. Now that we know we’re in the right place, let’s make sure our computer can see our device. Type:
./adb devices
If the computer can see your phone, you’ll see a device in this list. If not, make sure you’re running the correct drivers on windows, and that USB debugging is turned on on your device. If you see the device, let’s move on.
Now, decompress the .tgz file and you’ll find: a bootloader image, flashing scripts, the update image, and the radio image.
Go ahead and shut off your device. While off, boot it into Fastboot mode by pushing and holding the volume down and power buttons until you see the Android with his belly open.
Ignore the flash files in the folder that got decompressed. We’re going to flash these one by one. From here, we’ll be dragging files into the terminal window for ease of use.
First, we’ll need to make sure your bootloader is unlocked. If it isn’t, this command will unlock it and wipe your device in the process. On your device’s screen, check on the bottom. If it says device is UNLOCKED, you can skip this step.
Making sure that your terminal window is always pointing at the Marshmallow folder, type:
./fastboot oem unlock enter
After each command, we’ll reboot the bootloader by typing:
./fastboot reboot-bootloader
You can get to this command quickly by accessing your previous commands in terminal by pushing the up arrow.
First, we’ll flash the bootloader:
./fastboot flash bootloader /Users/YOURUSER/Desktop/Marshmallow/shamu-mra58k/bootloader-shamu-moto-apq8084-71.15.img
Next up, we’ll flash the radio:
./fastboot flash radio /Users/MarkB/Desktop/Marshmallow/shamu-mra58k/radio-shamu-d4.01-9625-05.27+fsg-9625-02.104.img
Now we’ll flash recovery type:
./fastboot flash recovery /Users/YOURUSER/Desktop/Marshmallow/shamu-mra58k/image-shamu-mra58k/recovery.img enter
You can also drag the file in as I mentioned from the decompressed image folder.
Now we’ll flash the boot partition:
./fastboot flash boot /Users/YOURUSER/Desktop/Marshmallow/shamu-mra58k/image-shamu-mra58k/boot.img
Reboot bootloader!
Finally, we’ll flash the system:
./fastboot flash system /Users/YOURUSER/Desktop/Marshmallow/shamu-mra58k/image-shamu-mra58k/system.img
You can see all the things Fastboot can do by just running ./fastboot without any other commands. We didn’t wipe the device, so if you want to do a ‘dirty’ install, this will keep your data. If you want to wipe your device, just append a -w before the command that you want to wipe the contents of the partition for. For example, let’s wipe our device’s system and userdata before we flash a new version of Android. Just remember, this will wipe your device clean.
./fastboot erase userdata enter ./fastboot -w flash system /Users/YOURUSER/Desktop/Marshmallow/shamu-mra58k/image-shamu-mra58k/system.img
You’re all done! Now just type:
./fastboot reboot
And enjoy your new sweet treat. It will take a while to boot the first time, but don’t worry. It’s doing some work under the hood. If it gets stuck at the boot screen, wipe everything clean using what you’ve learned and try again and make sure to follow the steps.
So this is android marshmallow, you can see interface marshmallow. if you interesting about this article, you can share or follow me on my official twitter or connected to google+.
And happy reading, Good luck!
Reference : technobufalo.com