Install and Configure RabbitMQ on Self-Managed Server: Step-by-Step Guide

Image by Arief JR
What is RabbitMQ?
RabbitMQ is a widely-used open-source message broker that facilitates communication between different parts of a system using a message queue. It enables asynchronous processing, decoupling, and scaling of applications by allowing them to exchange information in the form of messages. RabbitMQ implements the Advanced Message Queuing Protocol (AMQP), but it also supports other messaging protocols.
Features of RabbitMQ
- Reliability: Ensures messages are delivered and processed reliably.
- Scalability: Supports clustering and federation for scaling.
- Flexible Routing: Offers routing capabilities for messages.
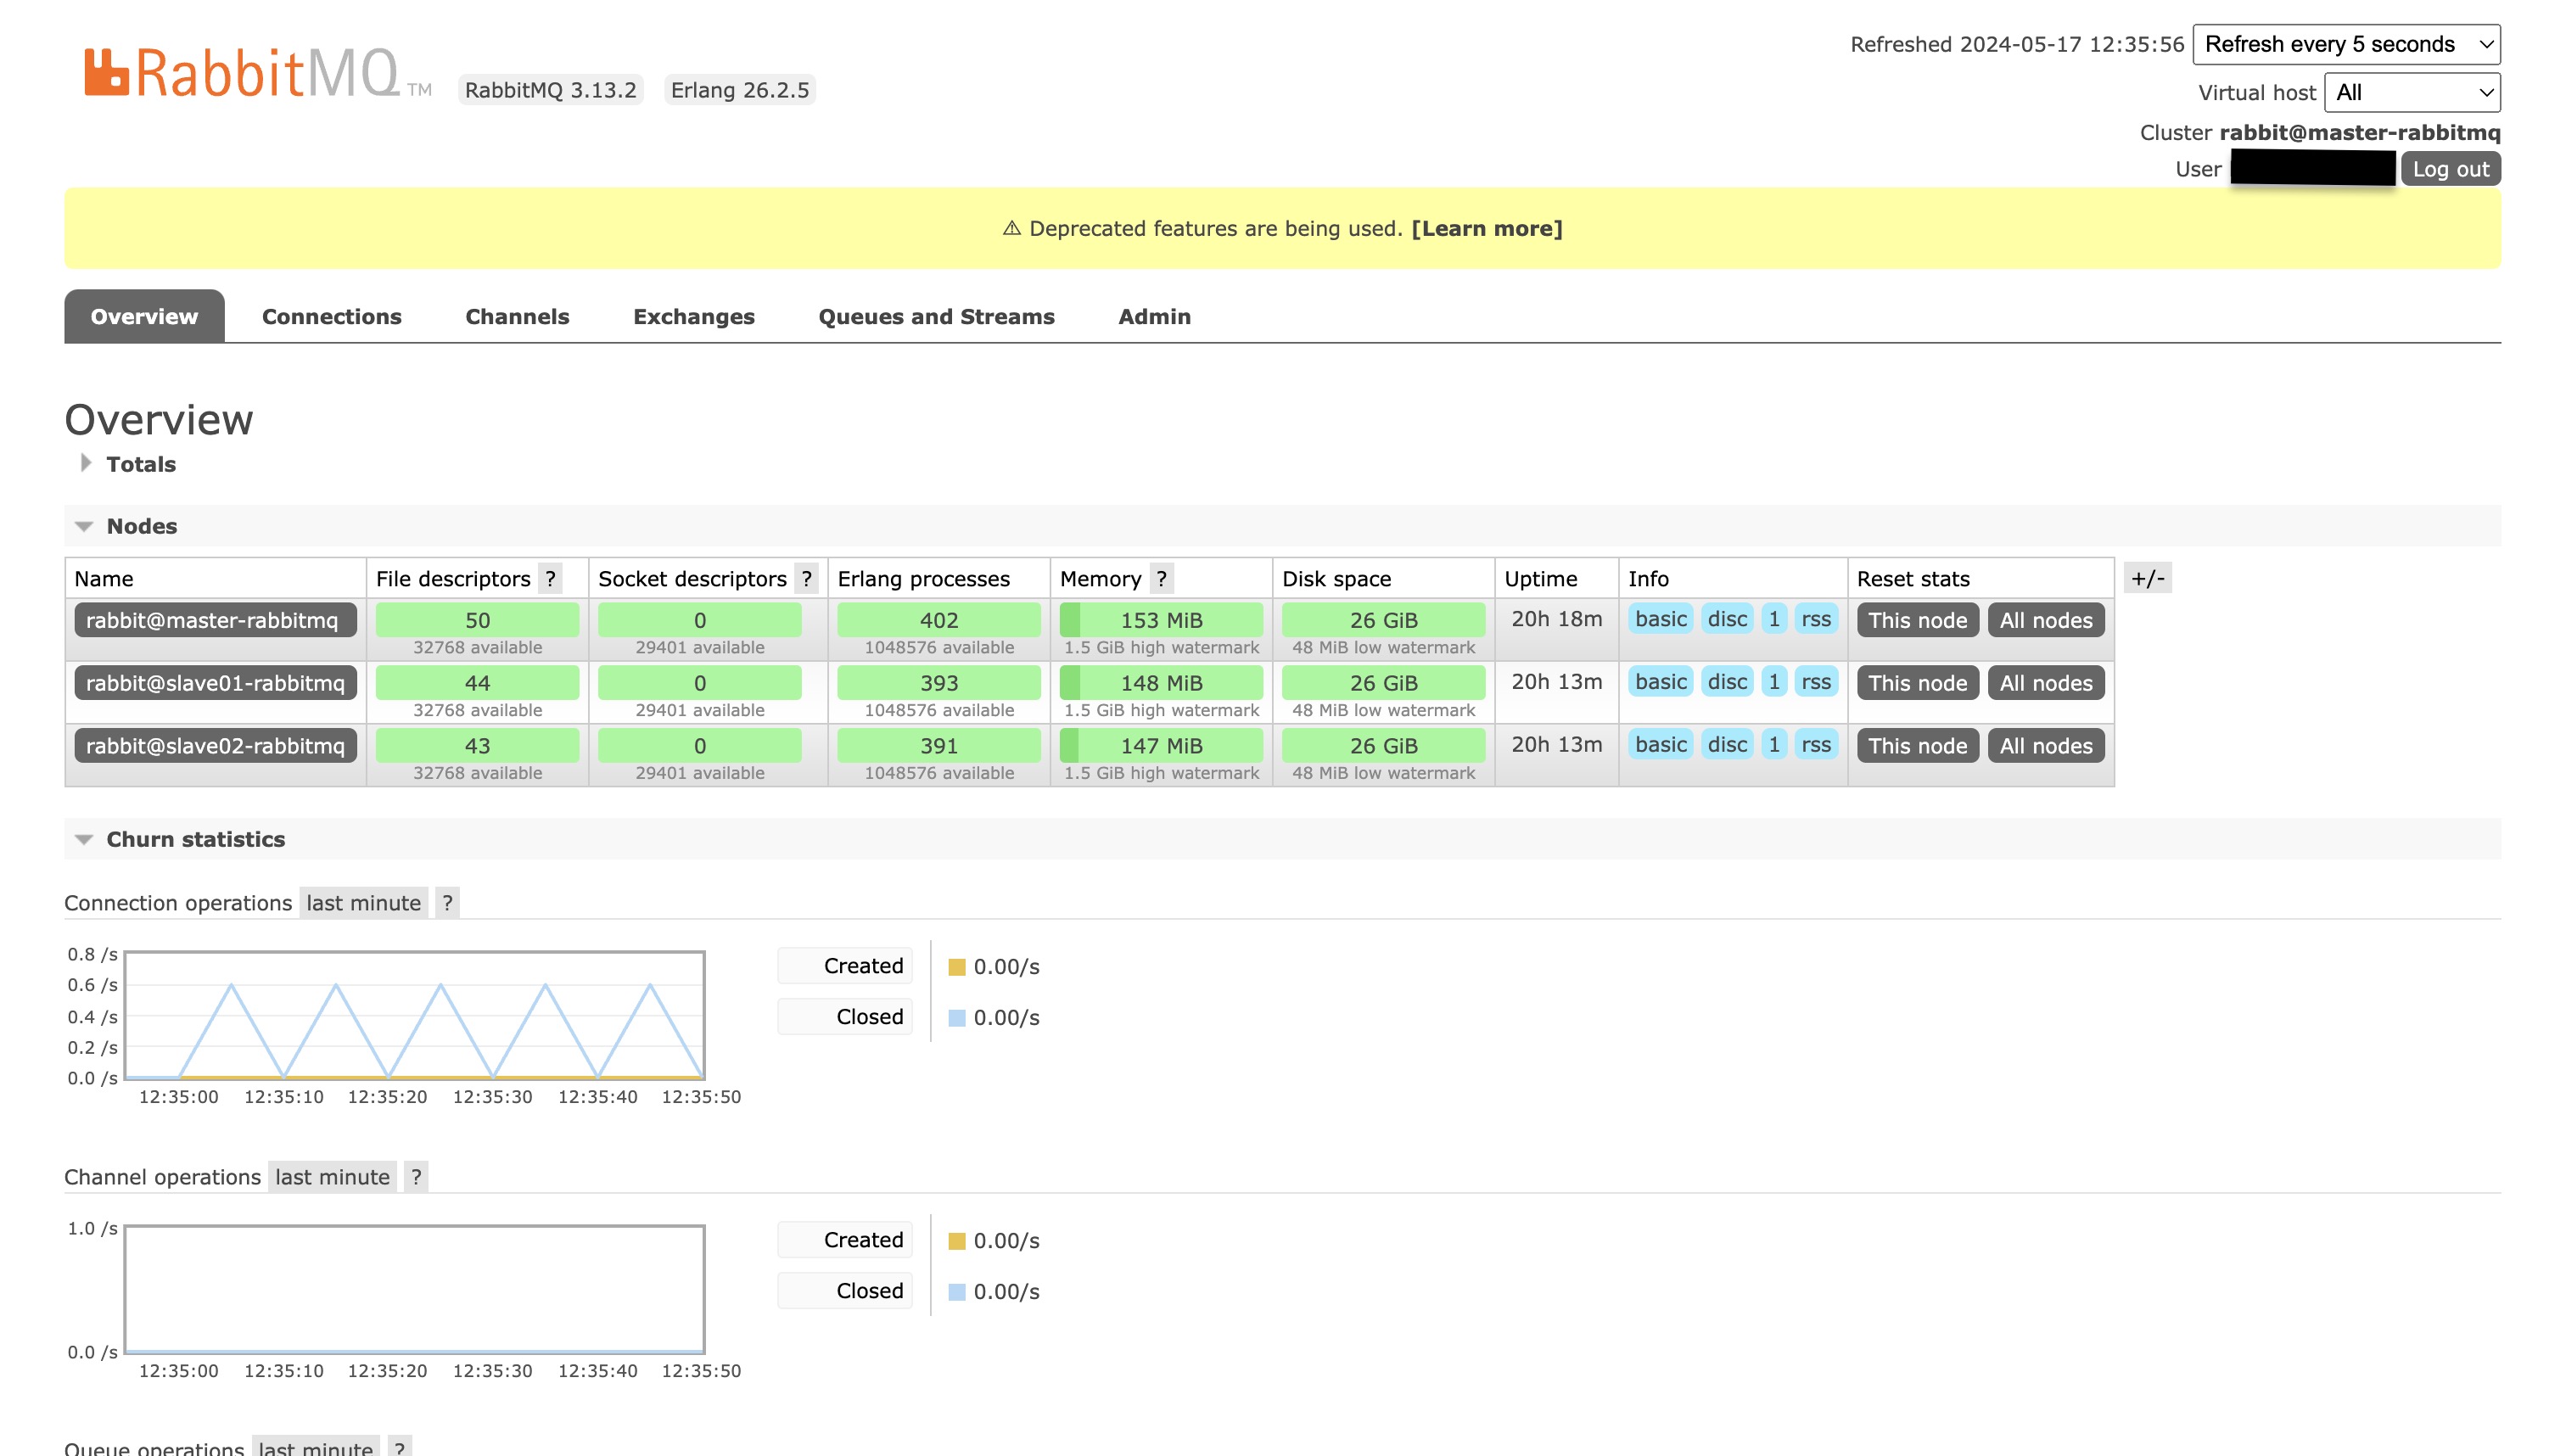
- Management Interface: Provides a web-based UI for managing and monitoring.
- Multi-Protocol: Supports multiple messaging protocols like AMQP, MQTT, and STOMP.
- Plugins: Extensible through a variety of plugins.
Step-by-Step Guide to Install and Configure RabbitMQ on Ubuntu 22.04
Before setup and configure, let’s assume have 3 nodes. In here i using AWS EC2 for rabbitmq and using ubuntu 22.04
Step 1: Update System Packages
Ensure your system packages are up to date.
1
2
sudo apt update
sudo apt upgrade -y
Step 2: Install Required Dependencies
RabbitMQ requires Erlang to function. Install the necessary dependencies.
1
sudo apt install -y curl gnupg apt-transport-https
Step 3: Add RabbitMQ Repository
Add the RabbitMQ repository to your system.
Add the RabbitMQ signing key:
1
curl -fsSL https://packagecloud.io/rabbitmq/rabbitmq-server/gpgkey | sudo gpg --dearmor -o /usr/share/keyrings/rabbitmq-archive-keyring.gpg
Add the RabbitMQ repository:
1
echo "deb [signed-by=/usr/share/keyrings/rabbitmq-archive-keyring.gpg] https://packagecloud.io/rabbitmq/rabbitmq-server/ubuntu/ $(lsb_release -cs) main" | sudo tee /etc/apt/sources.list.d/rabbitmq.list
Step 4: Install RabbitMQ
Update the package list and install RabbitMQ.
1
2
sudo apt update
sudo apt install -y rabbitmq-server
Step 5: Enable and Start RabbitMQ Service
Enable RabbitMQ to start on boot and start the service.
1
2
sudo systemctl enable rabbitmq-server
sudo systemctl start rabbitmq-server
Step 6: Verify RabbitMQ Installation
Check the status of RabbitMQ to ensure it is running.
1
sudo systemctl status rabbitmq-server
You should see output indicating that RabbitMQ is active and running.
Step 7: Enable RabbitMQ Management Plugin
Enable the management plugin for a web-based interface.
1
sudo rabbitmq-plugins enable rabbitmq_management
Step 8: Configure Firewall (Optional)
If you are using a firewall, open the necessary ports for RabbitMQ. The management interface runs on port 15672.
1
2
sudo ufw allow 5672/tcp
sudo ufw allow 15672/tcp
Step 9: Access RabbitMQ Management Interface
Access the management interface via a web browser.
1
http://<your_server_ip>:15672/
Step 10: Create an Admin User
For security, create a new admin user and disable the default guest user.
Create a new user:
1
2
sudo rabbitmqctl add_user <username> <password>
Assign administrator rights:
1
2
sudo rabbitmqctl set_user_tags <username> administrator
Set permissions for the new user:
1
2
sudo rabbitmqctl set_permissions -p / <username> ".*" ".*" ".*"
Delete the default guest user:
1
sudo rabbitmqctl delete_user guest
Step 11: Configure RabbitMQ (Optional)
Edit the RabbitMQ configuration file to make necessary changes, such as setting the default user and vhost.
1
sudo nano /etc/rabbitmq/rabbitmq.conf
Step 12: Restart RabbitMQ Service
After making changes to the configuration, restart RabbitMQ to apply them.
1
sudo systemctl restart rabbitmq-server
Testing RabbitMQ publish and consume
In this guide, we’ll demonstrate how to publish and consume messages using RabbitMQ with Python. We’ll use the pika library, which is a popular Python client for RabbitMQ.
Prerequisites
- RabbitMQ server installed and running.
- Python installed (version 3.x).
pikalibrary installed.
Step 1: Install pika
First, install the pika library using pip:
1
pip install pika
Step 2: Publish Messages to RabbitMQ
Create a file named publish.py and add the following code to publish messages to a RabbitMQ queue:
1
2
3
4
5
6
7
8
9
10
11
12
13
14
15
16
import pika

# Establish a connection with RabbitMQ server
connection = pika.BlockingConnection(pika.ConnectionParameters('localhost'))
channel = connection.channel()

# Declare a queue named 'hello'
channel.queue_declare(queue='hello')

# Publish a message to the queue
channel.basic_publish(exchange='', routing_key='hello', body='Hello RabbitMQ!')

print(" [x] Sent 'Hello RabbitMQ!'")

# Close the connection
connection.close()
Step 3: Consume Messages from RabbitMQ
Create a file named consume.py and add the following code to consume messages from a RabbitMQ queue:
1
2
3
4
5
6
7
8
9
10
11
12
13
14
15
16
17
18
import pika

# Establish a connection with RabbitMQ server
connection = pika.BlockingConnection(pika.ConnectionParameters('localhost'))
channel = connection.channel()

# Declare a queue named 'hello' (must be the same queue)
channel.queue_declare(queue='hello')

# Define a callback function to process the messages
def callback(ch, method, properties, body):
    print(f" [x] Received {body}")

# Set up subscription on the queue
channel.basic_consume(queue='hello', on_message_callback=callback, auto_ack=True)

print(' [*] Waiting for messages. To exit press CTRL+C')
channel.start_consuming()
Step 4: Run the Publisher
Run the publish.py script to send a message to RabbitMQ:
1
python publish.py
You should see the following output:
1
 [x] Sent 'Hello RabbitMQ!'
Step 5: Run the Consumer
Run the consume.py script to consume messages from RabbitMQ:
1
python consume.py
You should see the following output:
1
2
 [*] Waiting for messages. To exit press CTRL+C
 [x] Received b'Hello RabbitMQ!'
Conclusion
RabbitMQ should now be installed and configured on your Ubuntu 22.04 system. You can manage your RabbitMQ instance through the web-based management interface or via the command line using rabbitmqctl. This setup allows you to leverage RabbitMQ’s powerful messaging capabilities to build scalable and reliable applications. And you have successfully published and consumed messages using RabbitMQ and Python. This basic example demonstrates how to send and receive messages through RabbitMQ, which can be expanded for more complex use cases.