[How To] Step By Step Installation Guide Linux Gentoo Live DVD 2016 With Screenshot - Part 1

Like Arch Linux, Gentoo Linux is an Opensource meta-distribution built from source. Then you can ask me like why installing gentoo with live dvd not with cd or stage3, because with live dvd when installing gentoo not prolonged.
Because the final user can choose which components are to be installed, Gentoo Linux installation is a very difficult process for unexperienced users, but this tutorial uses for simplification a pre-build environment provided by a LiveDVD and a stage 3 tarball with minimal system software required to complete installation.
This tutorial shows you a step by step Gentoo installation simplified single-boot procedure, divided into two parts, using a 64-bit image with the last Stage 3 Tarball, using a GPT partition scheme and a customized Kernel image provided by Gentoo developers, so arm yourself with plenty of patience because installing Gentoo can be a long time consuming process.
Step 1: Download And Setup Boot Gentoo to Flash Drive or DVD
Downlad gentoo to https://www.gentoo.org/downloads/, after downloaded now create iso image to your usb stick or burn to dvd. You can using for create boot to flash drive or usb stick like unetbootin etc.
After burn iso to DVD or create boot in USB stick, now reboot your computer select key F12, F2 or etc which are available on your BIOS. Then press, wait until show this interface like this:
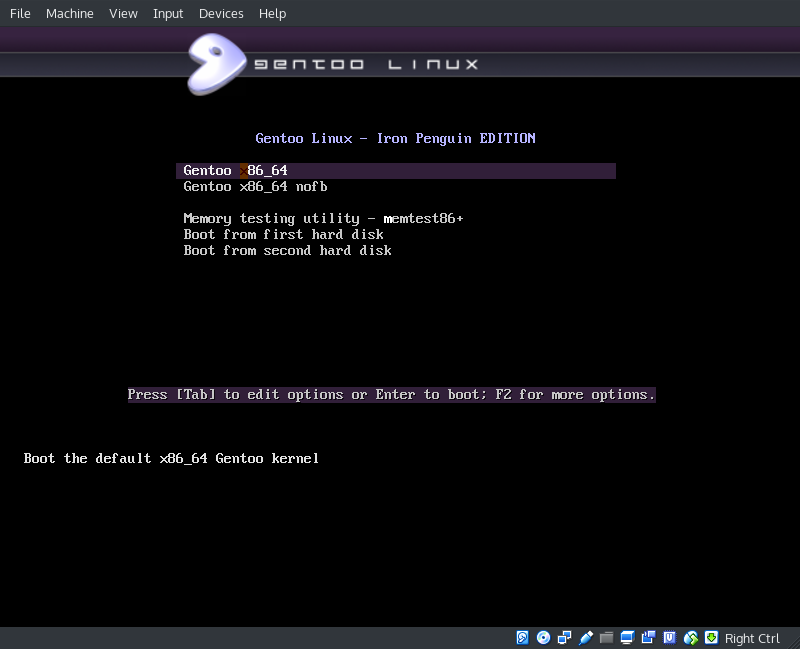
Select Gentoo x86_64 press or enter to continue.
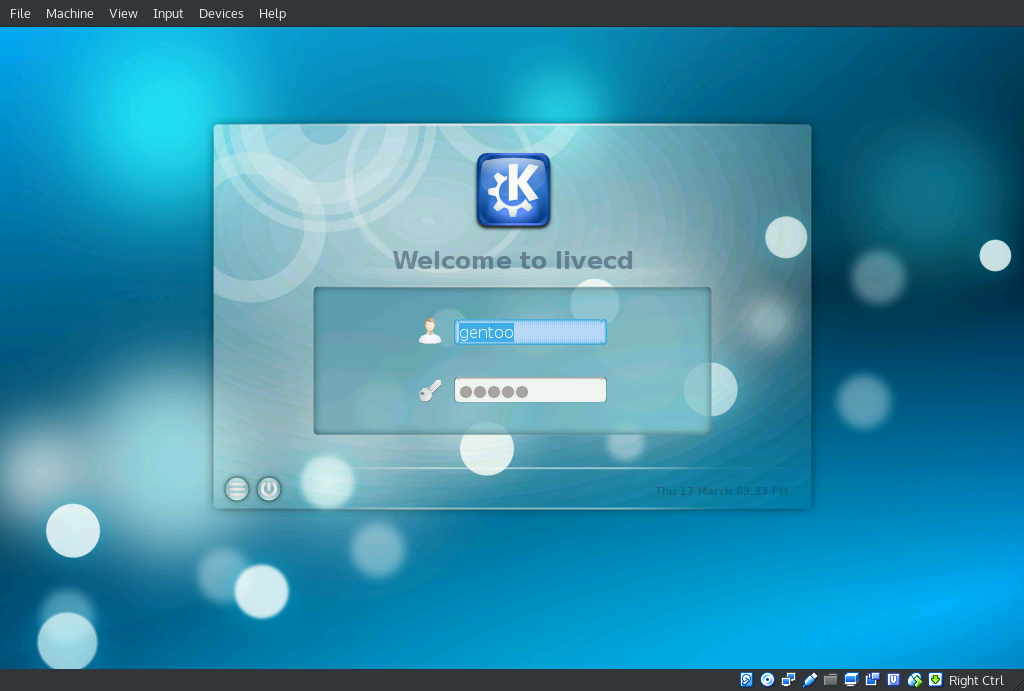
Press enter or click to login, and you’ll see the interface desktop gentoo with KDE 4.8 liveDVD.
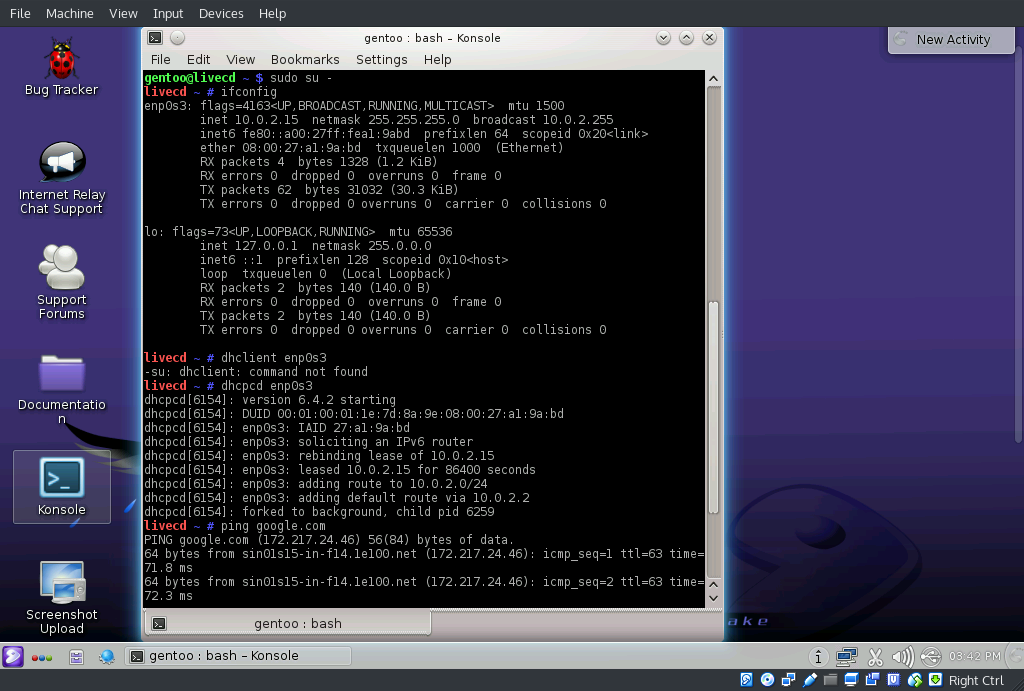
Now check your network configuration for check internet connectivity using ifconfig and command ping. This example i using dhcpd for automatically configuration network as dynamic not static. As follow command:
$ sudo su -
dhclient enp0s3
For interface card network, make sure using ifconfig command for check. After that, now check with ping like this screenshot:
And create this partition and filesystem
after your connection has been established and confirm, now create disk partition for filesystem as follow commands:
parted -a optimal /dev/sda
and i’ll give size disk partition like:
/dev/sda1 - 20M size – unformatted = BIOS boot partition
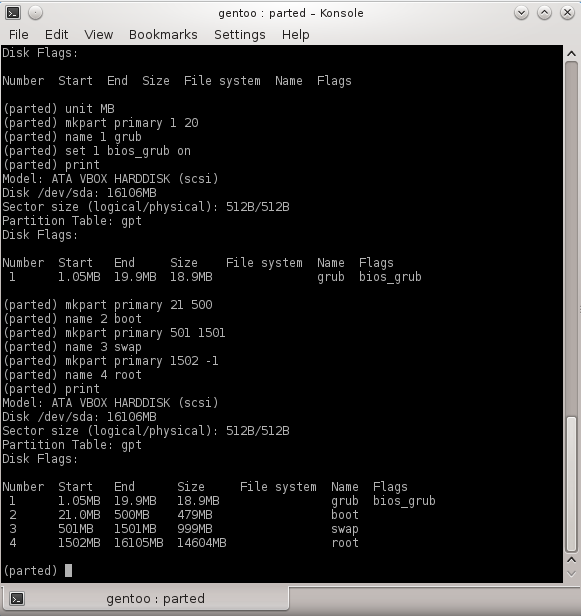
/dev/sda2 – 500M size – ext2 filesystem = Boot partition
/dev/sda3 - 1000M size – Swap = Swap partition
/dev/sda4 - rest of space – ext4 filesystem = Root Partition
As follows:
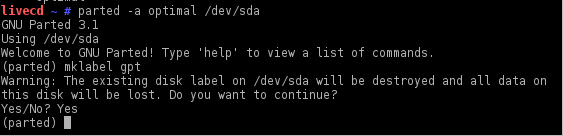
create gpt label on disk, use print to show your disk partition and if want remove partition using rm partitions of number command. Then supply parted with MB or mib size unit, create the first partition with mkpart primary, give it a name and set the boot flag on this partition.
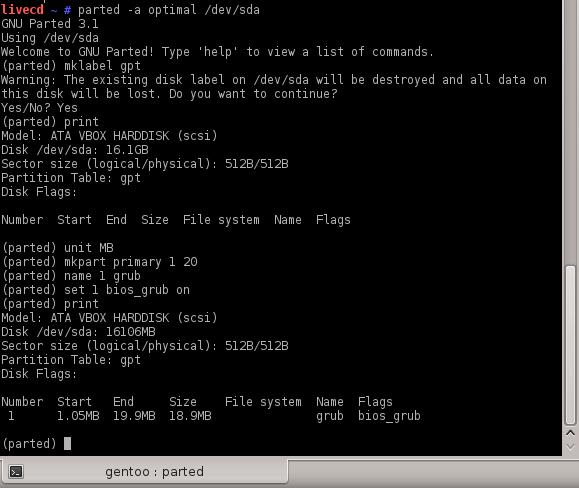
The way that Parted deals with partition sizes is to tell it to start from 1MB + the desired value size (in this case start a 1 MB and end at 20 MB which results in a 19 MB partition size).
Then create all partition as the same method.
for boot partition, swap partition, and root partition. Like this screenshot:
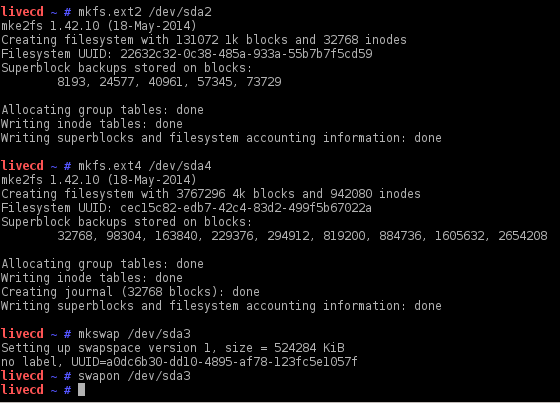
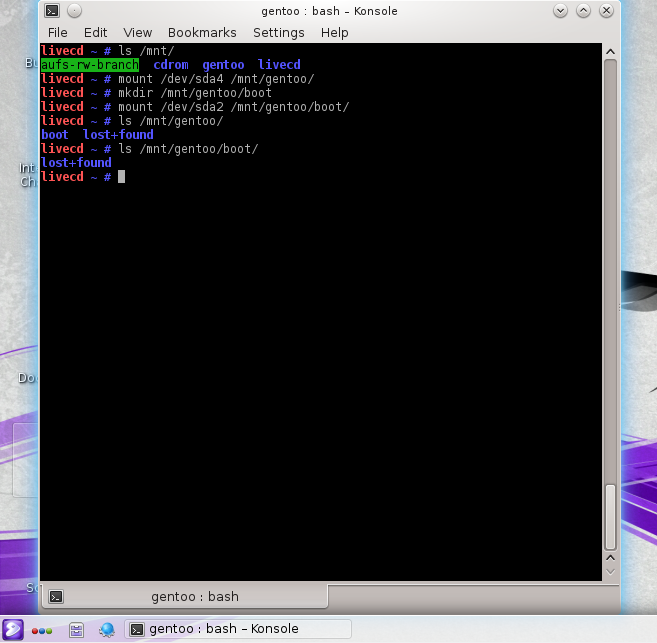
Now quit in parted, and format partitions using specific linux filesystem, activate swap, mount root and boot partition to /mnt/gentoo path.

Now download and extract gentoo stage3 tarball. Before download the stage3 tarball, set your date that synchronization as follow command:
date MMDDhhmmYYYY ##(Month, Day, hour, minute and Year)
Now download gentoo stage3 tarball;
cd /mnt/gentoo
links https://www.gentoo.org/main/en/mirrors.xml
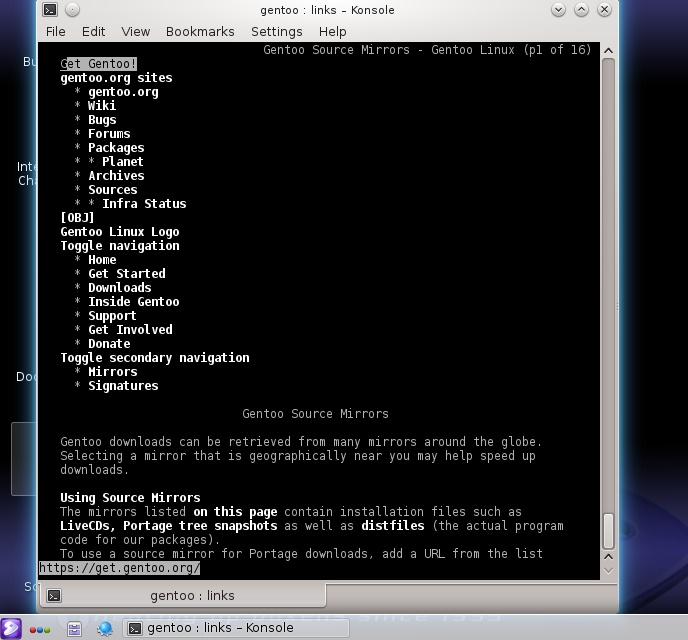
Select Mirrors and press space keyboard to continue,
And i select https://ftp.jaist.ac.jp/pub/Linux/Gentoo/

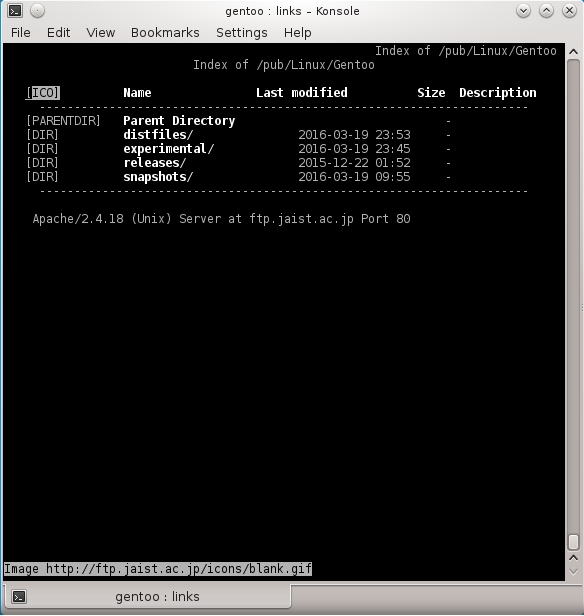
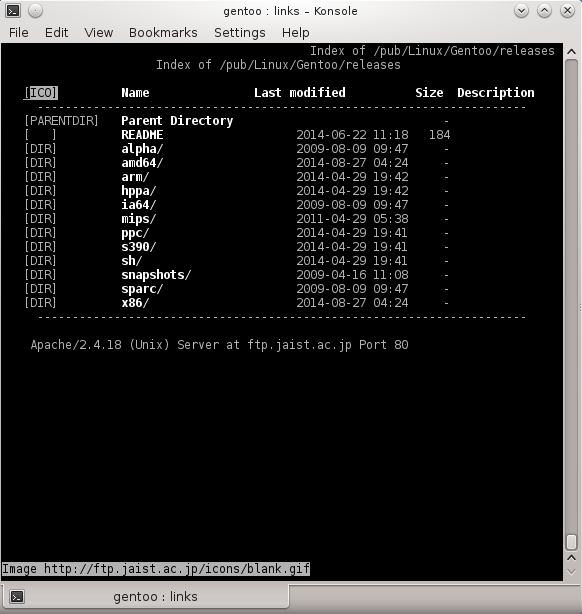
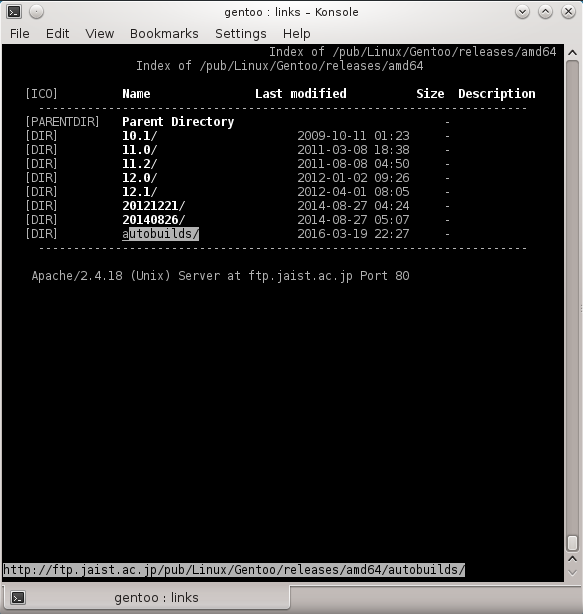
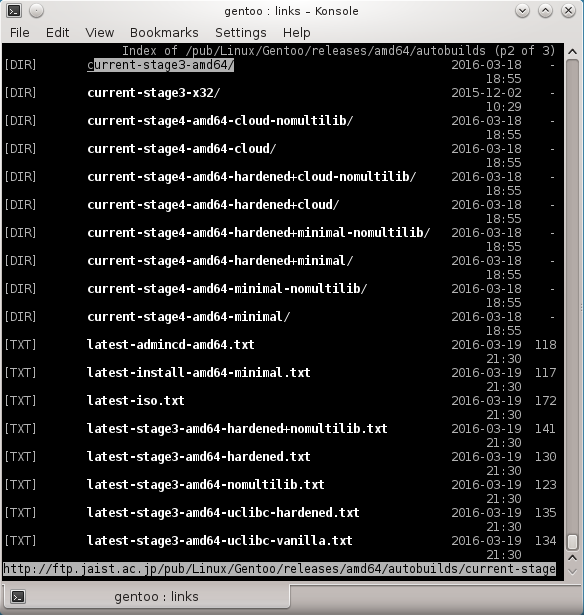
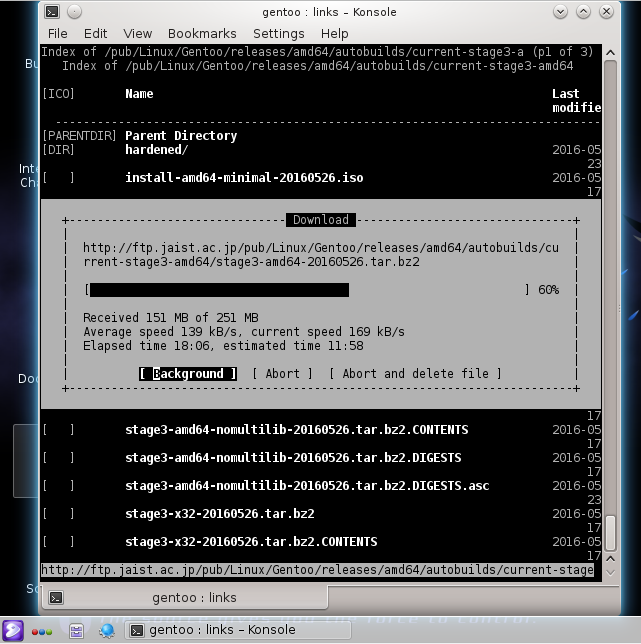
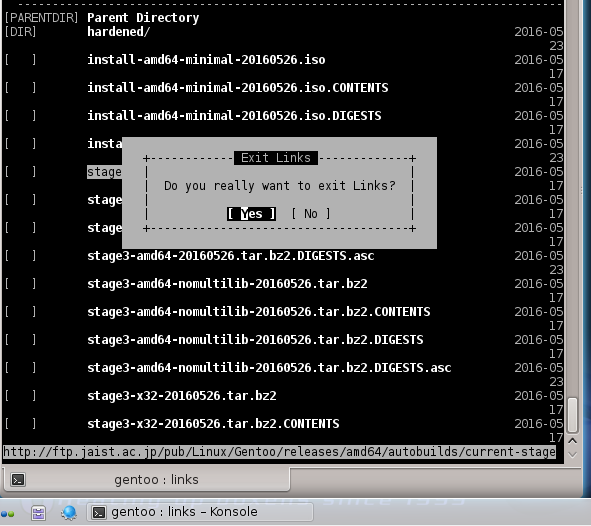
Follow this above screenshot and download gentoo stage3 tarball untill completed then press q to quit.
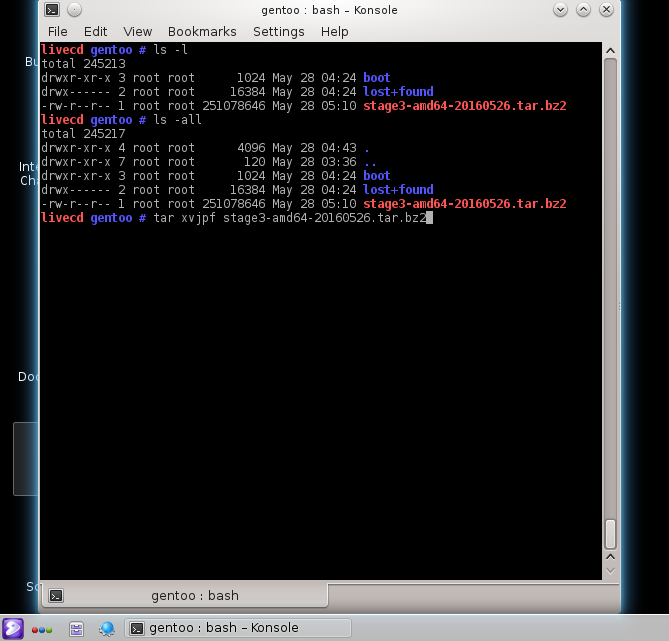
After completed show file using ls -l or ls -all command, then extract gentoo stage3 tarball.
Now you have a minimal Gentoo environment installed on your computer but the installation process is far from being finished.
This is Part 1 and will continue to Part 2. To continue process installation please click Step By Step Installation Guide Linux Gentoo Live DVD 2016 With Screenshot - Part 2.